
For the affairs of search engine optimization (SEO), WordPress users use SEO Plugin.So in this article, I am sharing easy steps to install and setup Yoast SEO Plugin the best SEO Plugin.
The two most popular SEO plugins are All in One SEO Pack and Yoast SEO.
Which is better to use? I think Yoast SEO because of its features more complete ranging from keyword density to readability.
Unfortunately, the setting Yoast SEO quite difficult and may be confusing the beginner. Well, Foro help I will show you with screen shots complete steps to set up Yoast plugin.
Read More: 10 Ways to Accelerate Your Blog Load Time Without Moving Hosting
Steps TO SetUp Yoast SEO Plugin
The first step you take is to install Yoast SEO. Log in to your WordPress self-hosting blog.
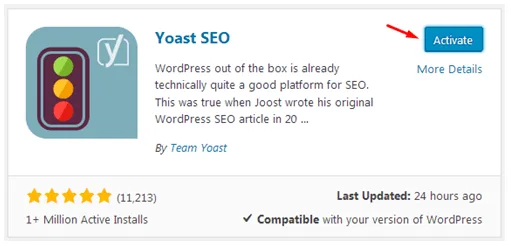
Step 1: Install Yoast SEO
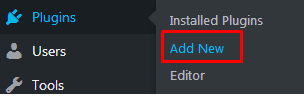
1. In the Plugins Section, click Add New.
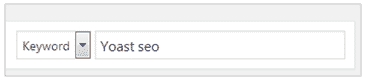
2. Type in Yoast SEO in the plugin search box.
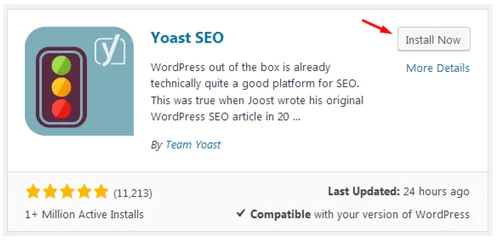
3. Click Install Now.
4. Click to Active.
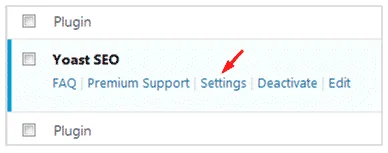
Step 2: Enable Advanced Settings Page
After installing Yoast SEO, the next step is the plugin settings. For that, follow the steps below.
1. Go to installed plugin and Click Yoast SEO Settings.
2. On the General – Yoast SEO page, click the Features tab.
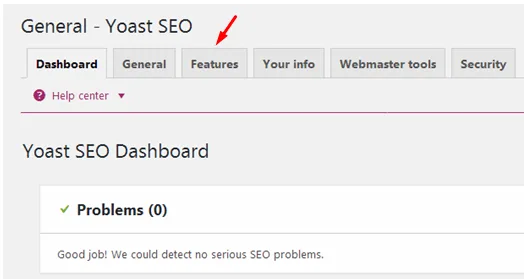
3. Advanced settings pages section and click Enabled to enable Titles & Metas features, Social, XML Sitemaps, and so on.
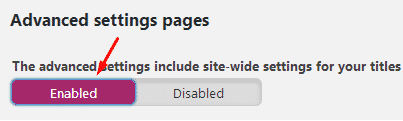
4. Click Save changes.
Step 3: Fill Title and Meta Description Homepage
The next step is to fill in the title and description of the front page (homepage) of your blog.
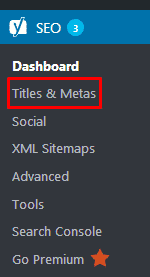
1. Click Titles & Metas.
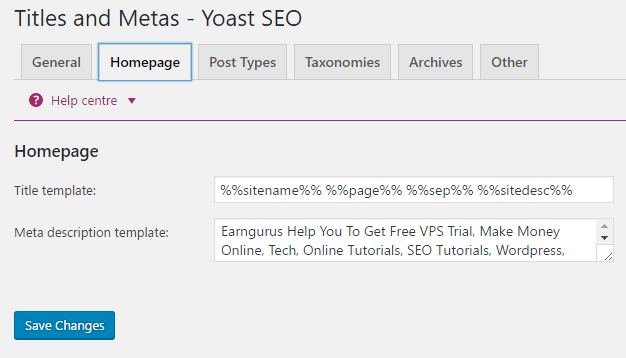
2. On the page that appears, click the Homepage tab.
3. Type the page title in the Title template box and the description in the Meta description template box. For the title of this description not to be truncated in Google search results, make no more than 63 characters. In that case, the meta description is a maximum of 130 characters.
Below is a sample title and description meta.
Step 4: Set Up Post Types
Yoast SEO allows you to set the type of posts, pages, and media. For this purpose, follow these steps.
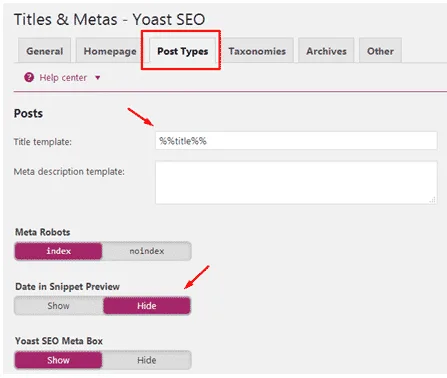
1. Click the Post Types tab.
2. In the Posts section, change the Title template to title type only. Meta description templates, Meta Robots, Date in Snippet Preview, and Yoast SEO Meta Box. Check screen shot below:
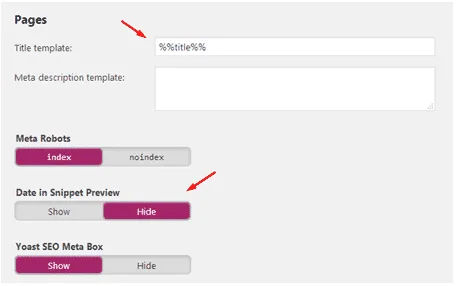
3. Do the same in the Pages section.
4. Similarly in the Media. After that, click Save changes.
Step 5: Set Taxonomies
Taxonomies include category, tags, and archive-based formats. Personally, I do not want these three things indexed in Google to avoid duplicate content.
If you want that too, do the following steps:
1. In Categories, select noindex.
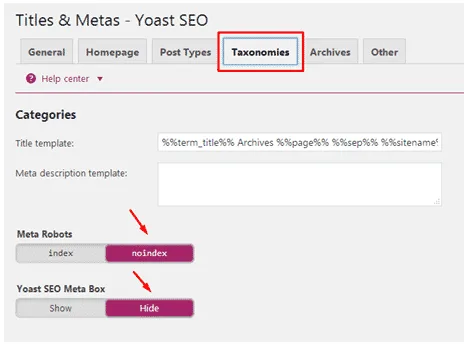
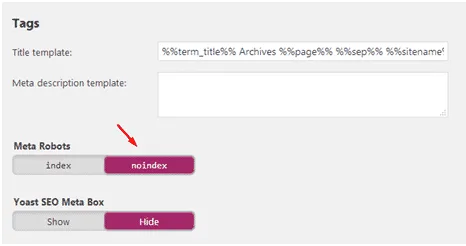
2. Do the same with Tags.
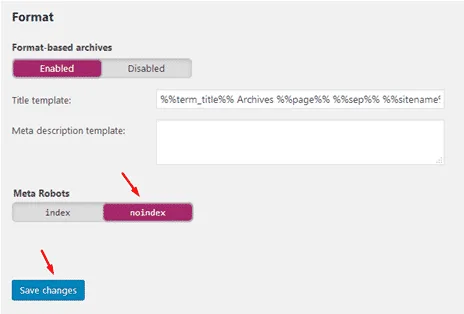
3. And also on Format. Click Save changes.
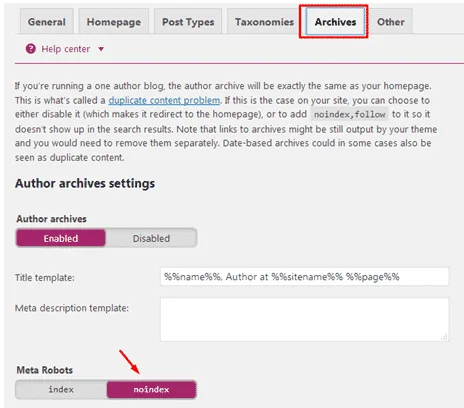
Step 6: Setting Archives
The Archives Yoast SEO section consists of author archives, archive data, and special pages. I always set nonindex for author archives and archive dates.
1. For Meta Robots in Author archives settings, select noindex
2. Do the same in Date archives settings. Noindex and Continue by clicking Save changes.
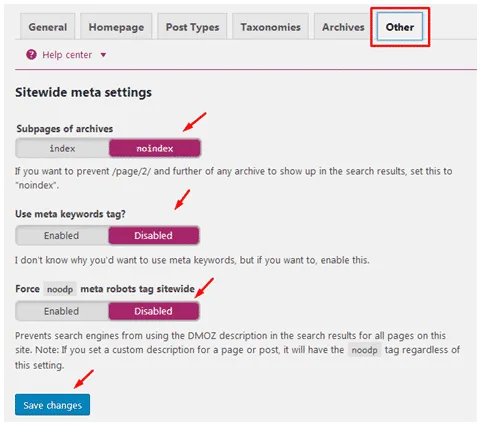
Step 7: Settings Other
Other sections consist of subpage archives, meta keywords tags, and meta sitewide. I always give noindex and disable these three things. Example below.
Actually, there are many features of Yoast SEO. However, If you need to know more about SetUp Yoast SEO Plugin then comment here.
If you like this article then please share with your friends.


